Alesis dual zone snare trigger teardown
I recently purchased an Alesis DM6 electronic drum kit. I haven’t posted much about it yet, but one of the things that I was wondering about was how they implemented their dual-zone snare drum trigger. If you hit the stick on the rim of the pad you get a different sound than if you hit just the center of the pad. The pad uses a stereo 1/4″ connector, so I was pretty certain that there was just two piezo elements in the pad, but I didn’t know exactly where they were mounted physically.
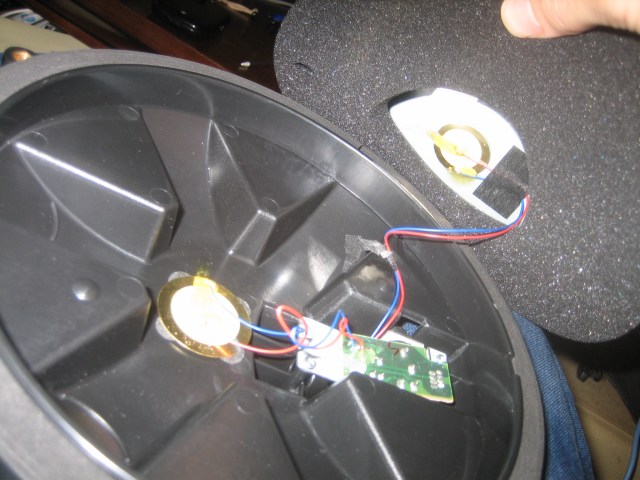
Well, I’m wondering no more, since I tore the pad down and took a few photos for you. It turns out that the second piezo element was epoxied to the plastic shell of the pad itself. This makes sense now since I noticed that any stick contact with the shell would immediately register a rimshot when I was playing the kit.
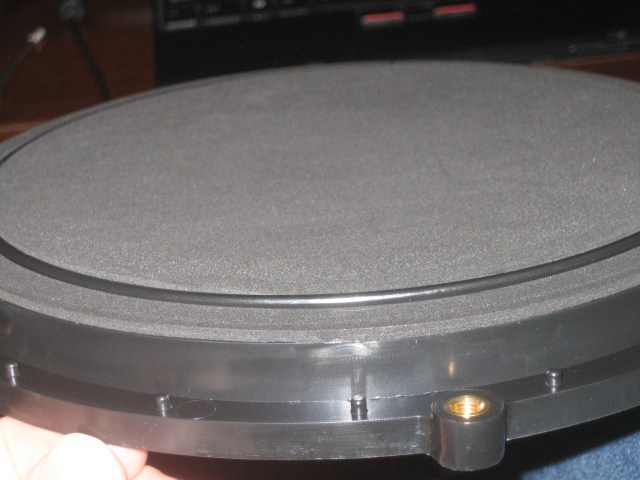
The first photo shows the foam ring around the rim area of the pad in detail. This foam is just underneath the rubber covering of the pad, which I have removed for this photo. Somehow I think it would be better if this foam were made of harder rubber since it is sometimes not that sensitive and I have to hit the rim harder to get a rimshot than I’d like.
Overall the pads on this kit play pretty well for rubber pads and the trigger action is pretty consistent. I’d like a little more sensitivity in the rim trigger on this snare pad though. I wonder if there is a way to retrofit this with a different rim trigger?
The second photo shows the location of both triggers. The first (top) trigger is mounted underneath a metal plate on a thin piece of plastic film. I’m going to be posting details of one of the tom-tom pads later on, so I’ll get into exactly the mechanics of that mount in a future post. Notice that the rimshot trigger is not on the rim at all, it is in the dead center of the plastic housing of the pad. And, it is cemented directly to the housing without any float or subassembly. No wonder it is so sensitive when you miss and hit the plastic body of the pad with your stick!